Maple Character Design
During the summer I had been aching to get to grips with a CGI project, but had been lacking the inspiration to get my arse into gear and get working (more down to my laziness than anything else…).
I had been shuffling through some 3D world magazines when an article about creating an appealing CGI character (issue #159, page 74) caught my eye. Reading through it, I noticed that I was seriously lacking in knowledge of the rendering techniques they described, and generally the correct way to composite the different passes together. So in an attempt to correct this I set myself this project.
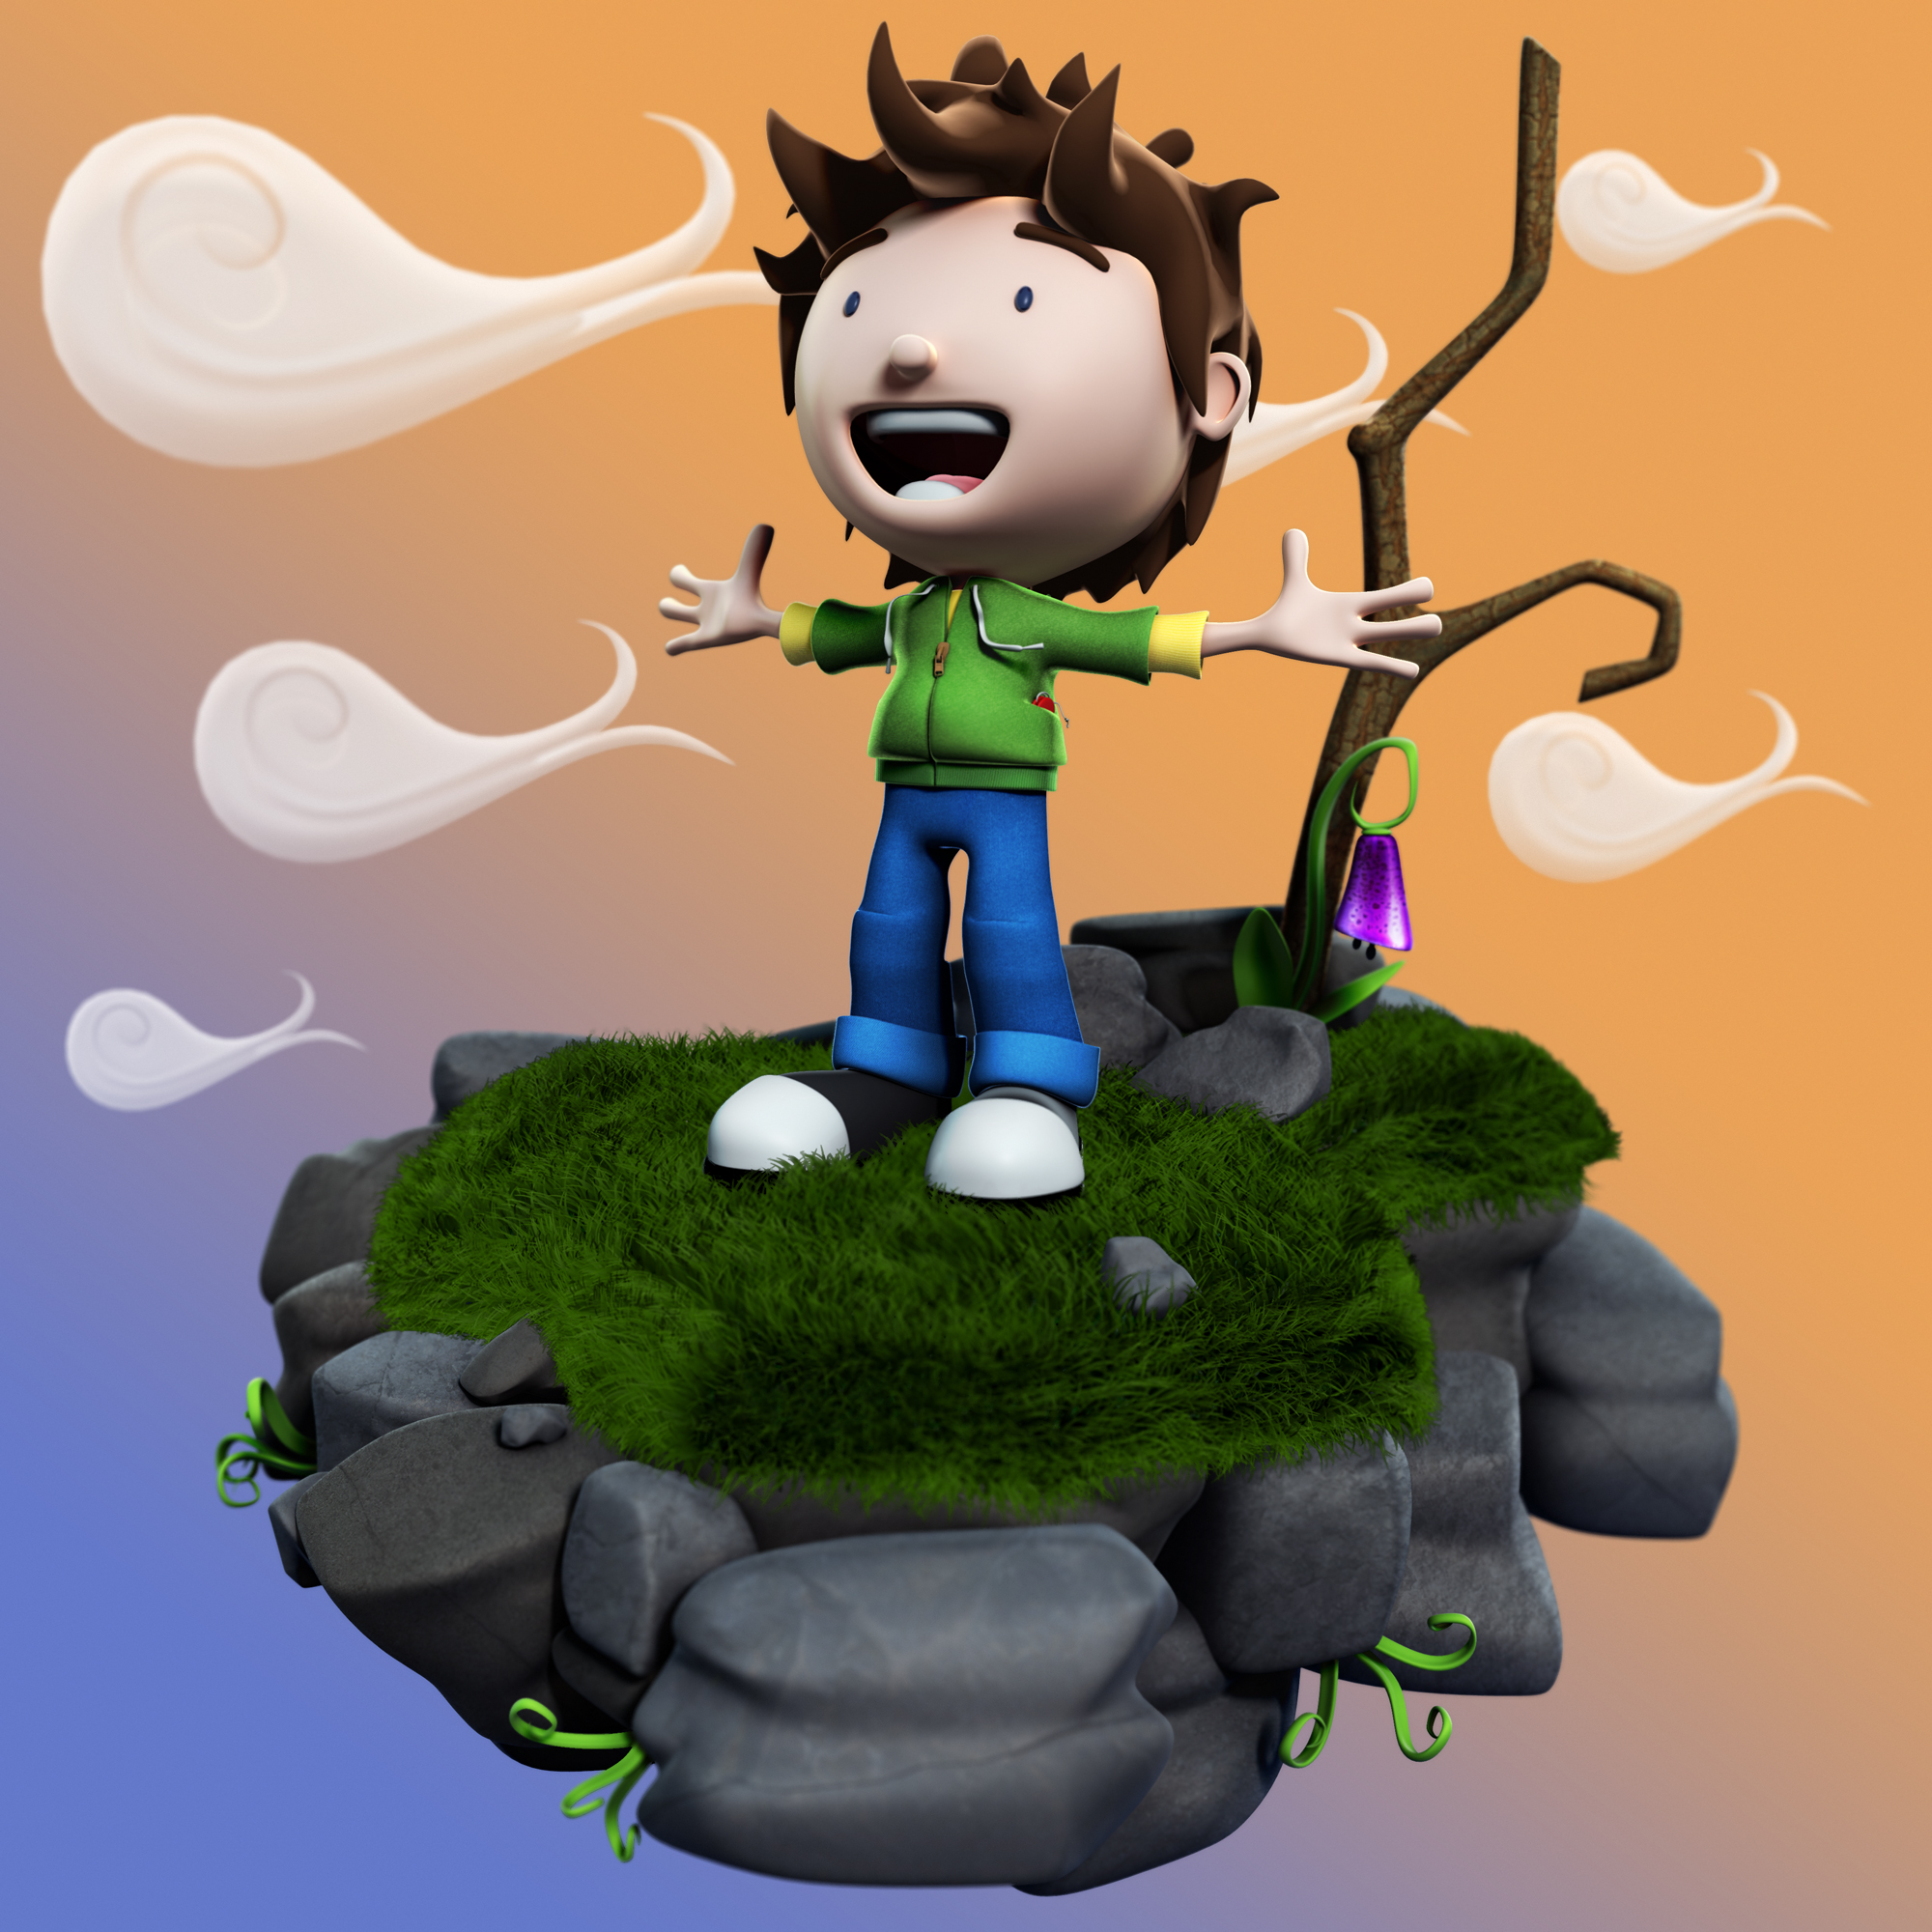
Luckily I had already designed a character I was quite fond of during my production classes, so I decided to take that 2D concept and work it up into 3D, with the end product being a “appealing” still illustration that forced my to learn rendering and compositing techniques in particular.

The first stage of the project was to recreate “Maple” in Maya, one of my favourite stages. I decided to attempt the modelling without image planes, and just go with how I felt it should be as it was one of my own creations. I felt the modelling process went well and was relatively simple.
The next step was to texture the little guy, and this went terribly. At the time I wasn’t quite savvy enough with the whole UV unwrapping ways, so I made a major bail and used basic maya hypershading techniques. I felt this was acceptable as the final image would be a still, with comped-in photo-real textures to help create the textured look, but took a big mental note to learn how to UV wrap properly in my next project (a problem now solved after much playing!).
To spice it up, I plugged in a rim lighting effect to the shaders to help give it that cartoony look. I also created the scenery (using Maya fur systems for grass) and arranged the composition of the image. I also organised the scene file properly, cleaning up the outliner and creating different model layers for ease of use during the rendering stage.
I rendered out the basic passes (including diffuse colour, ambient occlusion, raw shadows, specular, grass, incandescence, depth and reflection) and then created a selection mask pass which, even though something new to me, proved terribly useful during the compositing stage. I imported all the passes into Photoshop and played around with them until I was happy, and then using photo textures and the selection pass I added details to various elements like rocks and trees etc. to really give life to the picture.
Finally, I plugged in the depth map to give it that beautiful photo-like blur. I found doing this project really hit home how compositing can really improve your animations/pictures, speeding up rendering times and giving you full control over all the different elements in the final product. I’m quite happy with the final product, and felt I did my original concept justice.
However it did make me realise that I have still got a long way to go… baby steps Adam, baby steps.

+ There are no comments
Add yours